1、搭建前环境准备
- 三台虚拟机,hadoop01、hadoop02、hadoop03
- 依赖java
- 依赖hadoop,安装方法:http://blog.kdyzm.cn/post/129
2、下载安装包
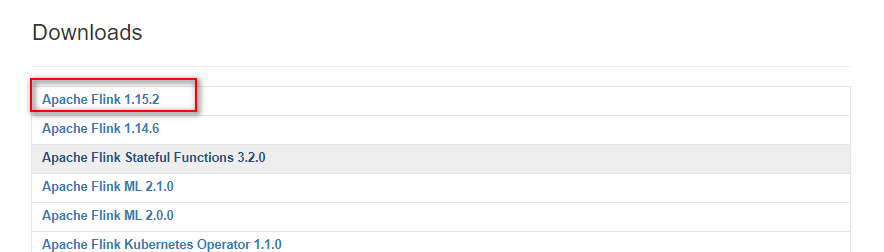
官网下载地址:https://flink.apache.org/downloads.html 这里使用的版本是1.15.2,下载地址:https://dlcdn.apache.org/flink/flink-1.15.2/flink-1.15.2-bin-scala_2.12.tgz
下载后上传到hadoop01的/usr/local目录并解压
tar -zxvf flink-1.15.2-bin-scala_2.12.tgz
建立软链接
ln -s flink-1.15.2 flink
3、环境变量配置
vim /etc/profile
export FLINK_HOME=/usr/local/flink
export PATH=$FLINK_HOME/bin:$PATH
可以不用将此配置复制到其它节点
4、配置文件变更
4.1 flink-conf.yaml
vim /usr/local/flink/conf/flink-conf.yaml
# Common
jobmanager.rpc.address: hadoop01
jobmanager.rpc.port: 6123
jobmanager.bind-host: 0.0.0.0
taskmanager.bind-host: 0.0.0.0
taskmanager.host: hadoop01
taskmanager.numberOfTaskSlots: 3
parallelism.default: 3

#HA配置
high-availability.storageDir: hdfs://hadoop01:9000/flink/ha/
high-availability.zookeeper.quorum: hadoop03:2181,hadoop02:2181,hadoop03:2181
high-availability.zookeeper.path.root: /flink
high-availability.cluster-id: /cluster_one

# Rest & web frontend
rest.port: 8081
rest.address: localhost
rest.bind-address: 0.0.0.0
4.2 masters
vim /usr/local/flink/conf/masters
hadoop01:8081
hadoop02:8081
4.3 workers
vim /usr/local/flink/conf/workers
hadoop01
hadoop02
hadoop03
5、下载相关jar包
去maven中央仓库下载如下jar包并上传到 /usr/local/flink/lib文件夹中
https://mvnrepository.com/artifact/commons-cli/commons-cli/1.5.0
https://mvnrepository.com/artifact/org.apache.flink/flink-shaded-hadoop-3-uber
这是为了集成hadoop,而shaded依赖已经解决了相关的jar包冲突等问题,该jar包属于第三方jar包,官网有链接,但是并没有hadoop 3.X的,这个直接在maven中央仓库搜索倒是可以搜得到。
如果没有以上jar包,会报错
6、程序分发
将程序分发到hadoop02和hadoop03,并建立相关软链接
scp -r /usr/local/flink-1.15.2 hadoop02:/usr/local/
scp -r /usr/local/flink-1.15.2 hadoop03:/usr/local/
ln -s /usr/local/flink-1.15.2 /usr/local/flink
7、特殊修改
hadoop02和hadoop03要特殊修改下flink-conf.yaml文件,里面有一项配置
vim /usr/local/flink/conf/flink-conf.yaml
原来的值
taskmanager.host: hadoop01
在hadoop02和hadoop03要分别改成hadoop02和hadoop03
8、项目启动
运行脚本
/usr/local/flink/bin/start-cluster.sh
启动集群
9、测试
运行以下命令
flink run \
-c org.apache.flink.examples.java.wordcount.WordCount \
/usr/local/flink/examples/batch/WordCount.jar \
 --input hdfs://hadoop01:9000/test/README.txt \
 --output hdfs://hadoop01:9000/test/output2
输出结果
p01:9000/test/output3
Job has been submitted with JobID 7612d8c86cbdcaff1746d9499945cd46
Program execution finished
Job with JobID 7612d8c86cbdcaff1746d9499945cd46 has finished.
Job Runtime: 1922 ms若是没有报错就说明运行成功了
打开控制台页面:
http://hadoop01:8081/#/job/completed
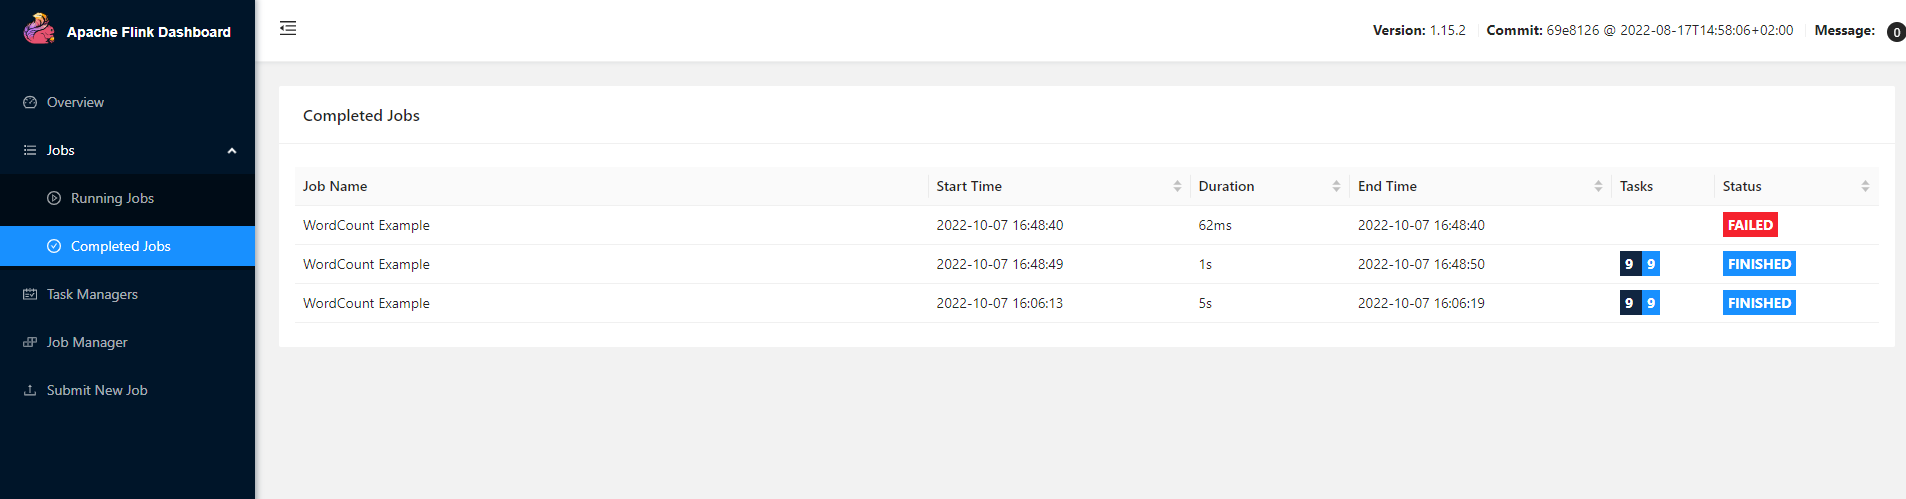
可以看到已经执行成功了,查看执行结果
hdfs dfs -cat /test/output2/*
可以看到程序执行后的结果
at 2
confluence 1
hadoop 3
information 1
latest 1
org 2
our 2
website 1
wiki 1
about 1
and 1
display 1
for 1
http 1
https 1
the 1
visit 1
apache 2
cwiki 1
please 1
10、service脚本
vim /etc/init.d/flink
#!/bin/bash
#chkconfig:2345 20 90
#description:kafka
#processname:kafka
export JAVA_HOME=//usr/local/jdk
case $1 in
        start) /usr/local/flink/bin/start-cluster.sh ;;
        stop)  /usr/local/flink/bin/stop-cluster.sh ;;
        *) echo "require start|stop" ;;
esac
授予执行权限
chmod a+x /etc/init.d/flink
11、参考文档
Flink 1.15.1 集群搭建(StandaloneSession)
注意:本文归作者所有,未经作者允许,不得转载