环境准备:安装好go环境
xjar项目地址:https://github.com/core-lib/xjar
首先,引入xjar仓库源
<pluginRepositories>
    <pluginRepository>
        <id>jitpack.io</id>
        <url>https://jitpack.io</url>
    </pluginRepository>
</pluginRepositories>
然后,引入xjar插件
<plugin>
    <groupId>com.github.core-lib</groupId>
    <artifactId>xjar-maven-plugin</artifactId>
    <version>4.0.2</version>
    <executions>
        <execution>
            <goals>
                <goal>build</goal>
            </goals>
            <phase>package</phase>
            <!-- 或使用
            <phase>install</phase>
            -->
            <configuration>
                <password>io.xjar</password>
                <!-- optional
                <algorithm/>
                <keySize/>
                <ivSize/>
                <includes>
                    <include/>
                </includes>
                <excludes>
                    <exclude/>
                </excludes>
                <sourceDir/>
                <sourceJar/>
                <targetDir/>
                <targetJar/>
                -->
            </configuration>
        </execution>
    </executions>
</plugin>
执行mvn clean package命令,打包完成之后,查看target目录
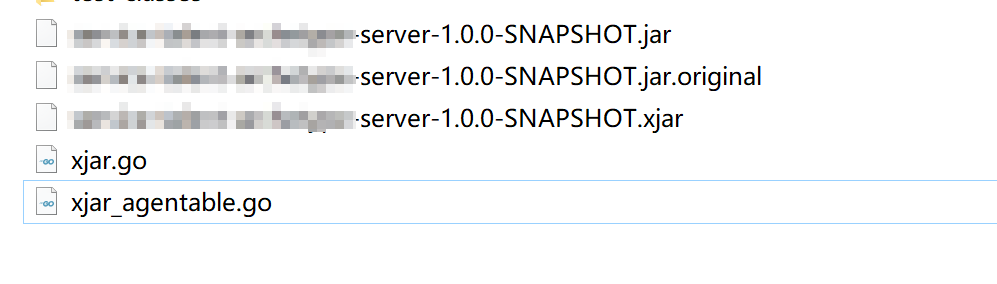
多出三个文件:.xjar、xjar.go、xjar_agentable.go
运行命令go build xjar.go,目录下会多出一个xjar.exe可执行文件,在当前打开命令行窗口,运行命令
xjar.exe java -Dfile.encoding=UTF-8 -jar xxx.xjar
或者git bash中运行
./xjar.exe java -Dfile.encoding=UTF-8 -jar xxx.xjar
即可
END.
注意:本文归作者所有,未经作者允许,不得转载